How to Design a Custom Product Label for Digital Print
In the bustling consumer goods market, product labels are the silent salespeople that convey significant information about your brand and product. They serve as the initial point of contact with customers, making their design a crucial aspect of branding and marketing. Studies show that nearly 70% of purchasing decisions are influenced by a label's visual appeal.
Today, digital printing has become a popular go-to method for label production, empowering brands to create custom labels with an unmatched combination of versatility and quality that were previously unattainable.
In this article, we will guide you through the three essential steps to design a custom product label using digital print.
Step 1: Understanding Your Brand and Audience

The label design journey begins with cultivating a deep understanding of your target market. Who are the end users of your product? Are they busy professionals, health-conscious individuals, or perhaps tech enthusiasts? What age groups and genders do they belong to? Where do they live? What do they value? Your label must resonate with your audience immediately at first glance. Being able to answer questions like these is a great place to start when developing the direction of your brand.
The next step is to establishing your branding essentials – your logo, color palette, and brand message all play an integral role in your label design. These elements should weave together to tell your brand’s story, mission, and promise on the small canvas that is your product label.
Step 2: Designing Your Custom Label
Selecting the Right Material and Adhesive
A label's durability and appearance depend heavily on its material and adhesive. Regardless of the type of pressure-sensitive label you need, a waterproof label for beverages or a heat-resistant one for electronics, the material must match the product's use case. Similarly, adhesives vary; some are designed for single use, while others can withstand multiple applications. A careful selection is crucial for functionality and aesthetics.
Creating an Engaging Design
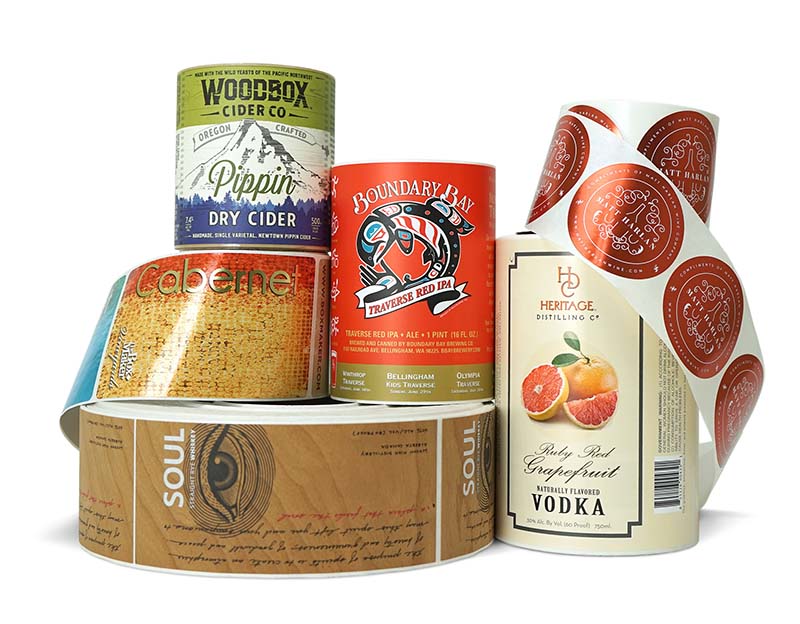
Designing an engaging label is a balancing act. The layout should seamlessly blend text, imagery, and material choice, resulting in a visually appealing and informative label that accurately reflects your brand. For example, it's crucial to consider color psychology, which can significantly impact consumer perception. Therefore, choose hues that align with your brand's identity while also emphasizing readability.
Additionally, your label must incorporate essential information such as barcodes, nutritional facts, and legal requirements specific to your product category. Ensuring that all necessary certifications and warnings are present is a must.
Collaborating with an experienced graphic designer is essential when developing a label design that is not only on-brand and includes all relevant packaging details, but also one that can be manufactured as expected (see next step!).
Step 3: Finalizing Your Label Design and Preparing for Production
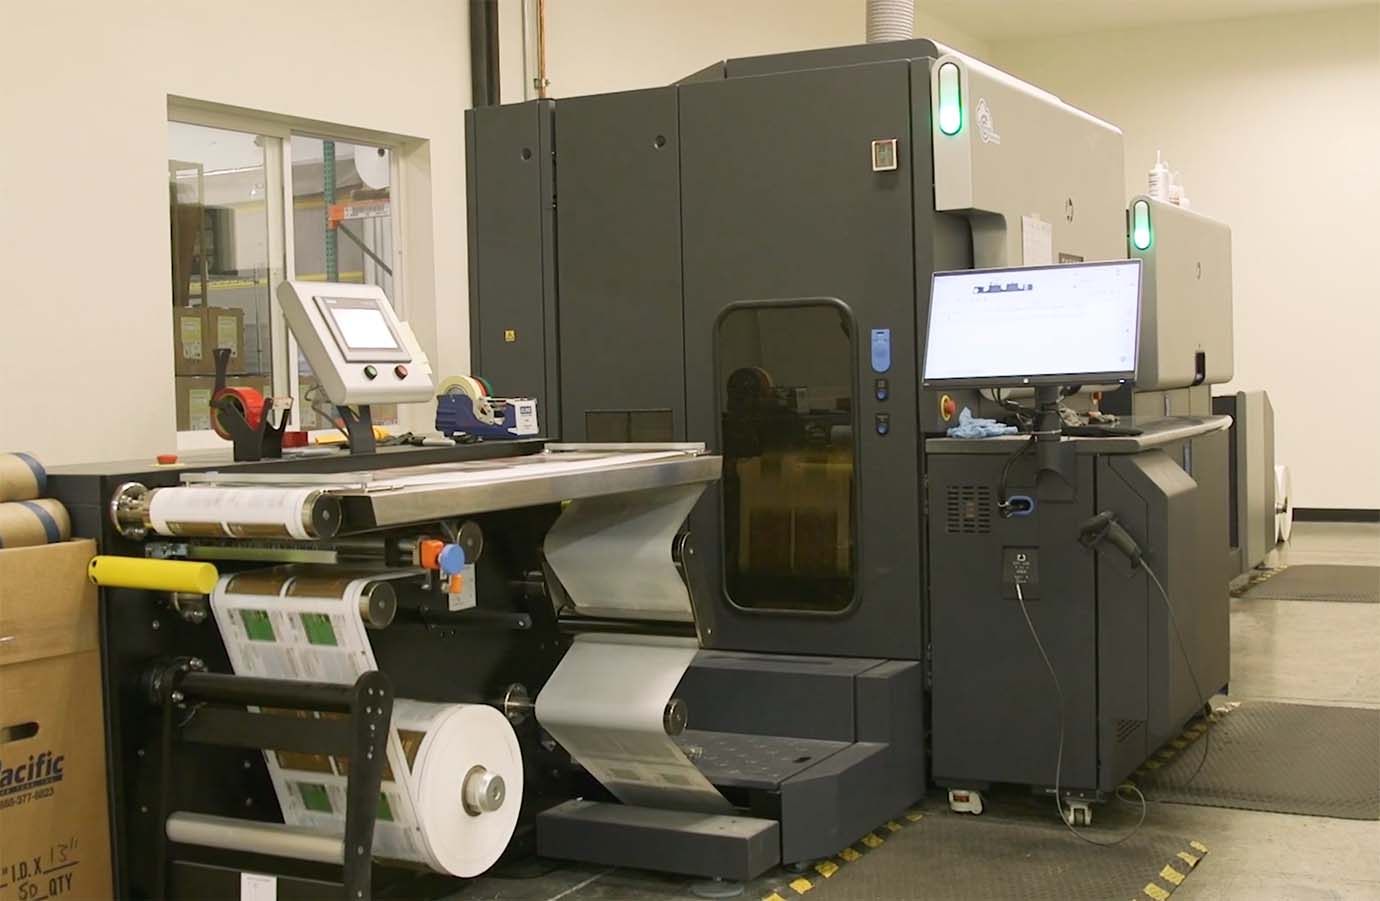
Label manufacturing is an art, and selecting a custom label manufacturer who can expertly guide you through the process is critical to your success. Finalizing your design and preparing for production involves several key checkpoints to achieve your desired print and finishing outcome:
The first checkpoint is to discuss and align expectations with your selected label vendor. Address important aspects of your project including finishing options for your custom labels, cost considerations, and your project timeline. Ensuring that you and your label manufacturer are on the same page will contribute greatly to the success of your project.
The second checkpoint is preflight. Once you provide your label manufacturer with your custom label artwork, they will complete a pre-press check. A pre-press check is the technical validation process that confirms your design files meet the printer's artwork requirements and are print-ready. Specific artwork requirement examples include file format, bleed settings, and color profile (you can check out The BoxMaker’s Artwork Guidelines here for reference).
The final checkpoint is proofing, a process where you receive and review a digital proof of your custom label artwork to catch any errors or design issues. Take your time during this stage to review every element of the label, including text, images, colors, and overall layout. Be sure to check for spelling errors! Prompt review of your digital proof is also key as your manufacturer will not move your label project into production until you have reviewed and approved your proof.
Once you proof is approved, your label moves into production and will be shipped to you as soon as it is ready!
Why Choose Digital Print?
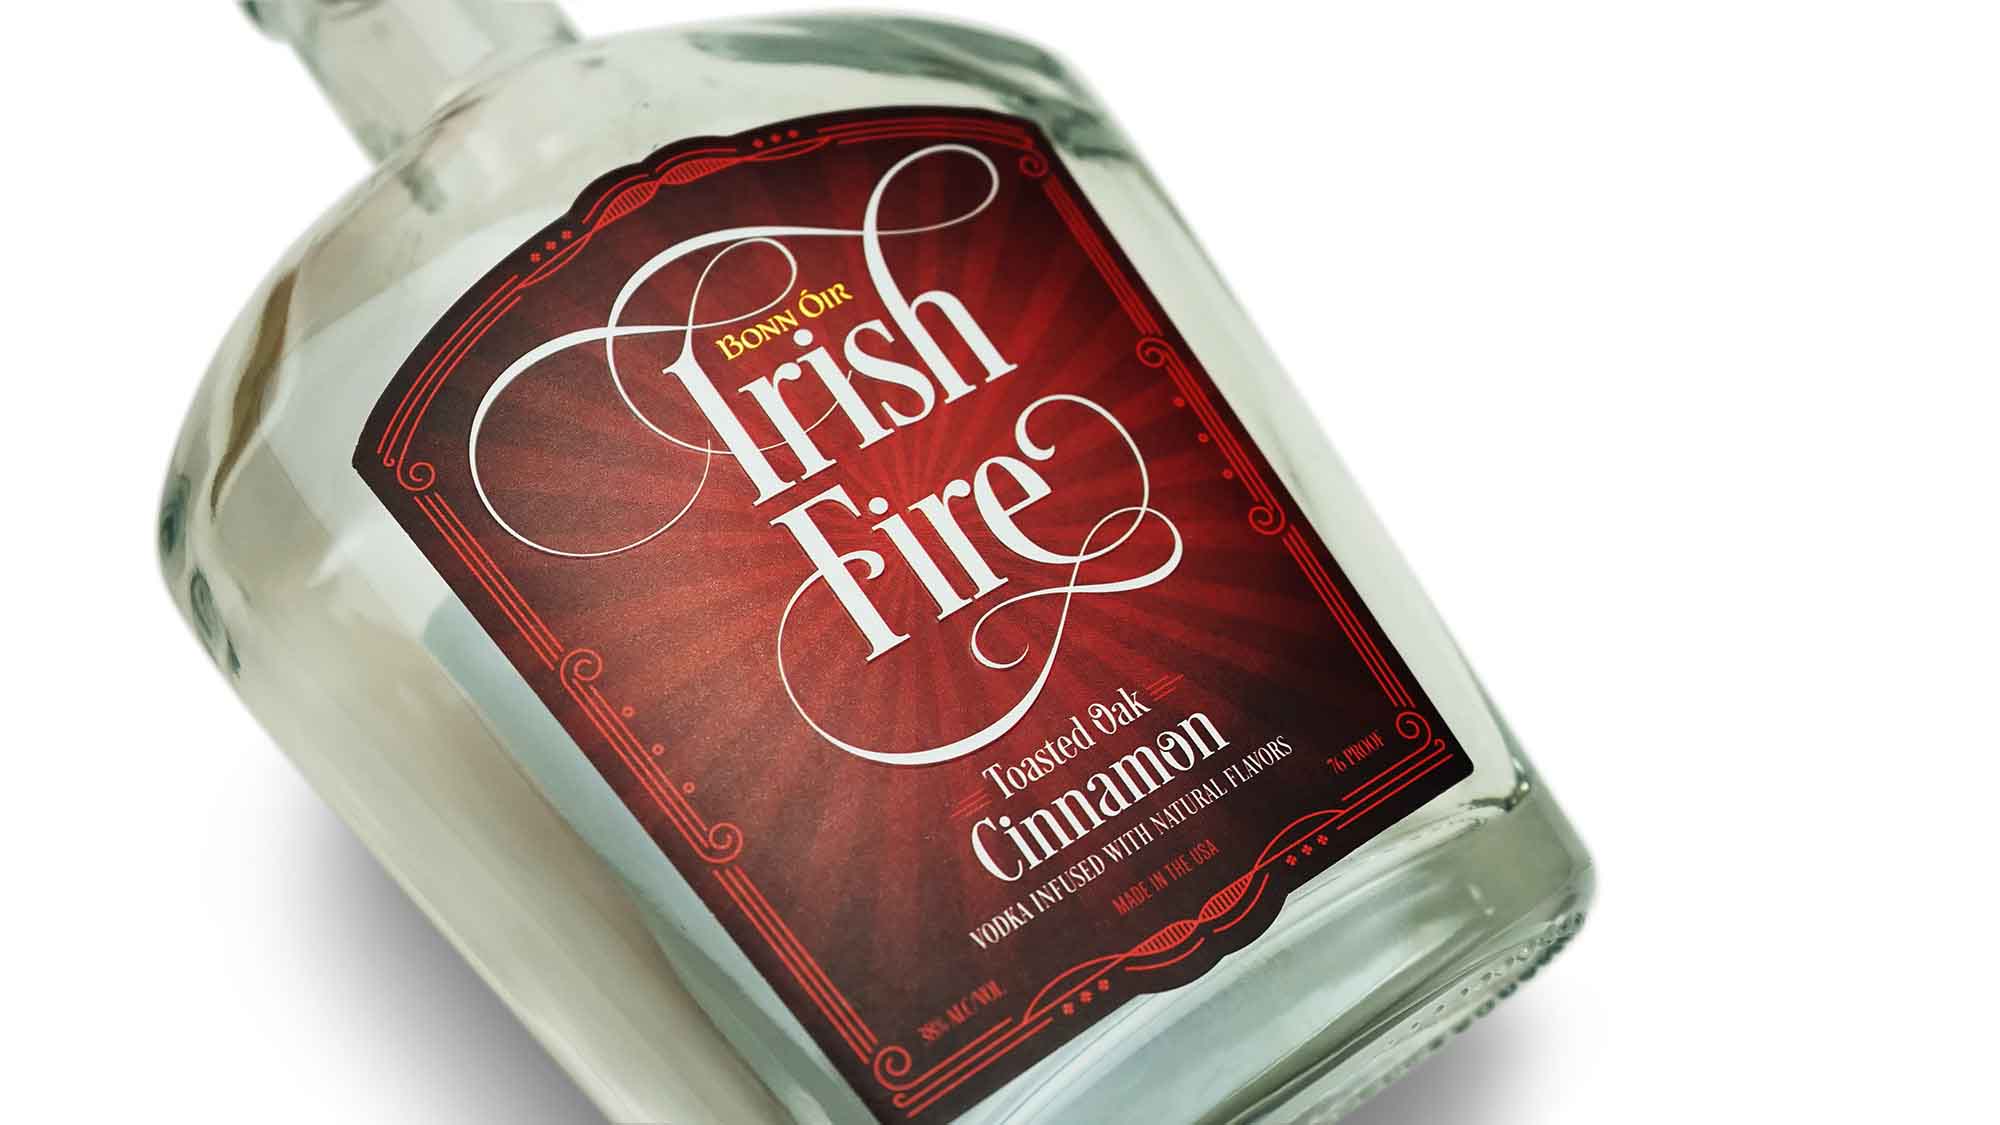
When you select your custom label vendor, you will also be selecting the print method for your label production. Your vendor may offer flexo printed labels, digitally printed labels, or both. For both growing and established businesses, The BoxMaker believes that digital print offers some great advantages.
The benefits of digitally printed custom labels include:
- Print and color quality - Digital print delivers exceptional print quality and color consistency thanks to continuous color calibration.
- Short lead time - The BoxMaker averages only 5 days of lead time for labels after artwork approval.
- Tailored volume orders - Easily control your label order volume to support better product lifecycle management.
- Short-run efficiency - Short runs for a reasonable cost enable tests of varied label artwork in the marketplace to see what resonates.
- Low setup costs - Elimination of print plates reduces setup time, materials, and costs.
- Sustainability - Digital printing often employs more sustainable practices, such as reducing waste, contributing to a greener production process.
As you can see, the advent of digital printing has revolutionized label production, making it a smart choice for most labeling applications.
Order Your Custom Printed Labels Today
Designing a custom product label is a lengthy process that integrates research, design, and technical considerations. By following the steps above, you can create labels that not only inform but also stand out and engages with your audience.
If you want to learn more about our custom label capabilities, you can request a label sample kit here, or reach out to our Packaging Advisors for help. Contact our team to get started today.
Subscribe
Share this post
Similar Articles
How to Prepare Your Artwork File for Digital Printing in 4 Steps
Proper file preparation is essential for digitally printed packaging. Learn 4 steps to ensure your f …
Brand Color Management: How Can G7 Certification Help?
The BoxMaker achieved G7 certification across our wide-format digital printers. Learn how partnering …
Litho Lamination vs. Digital Print for Retail Packaging
Learn about comparing Litho Lamination vs Digital Print and how technological advancements in digita …
